Being able to easily run reports from your data can save you a lot of time and allow you to track your progress and performance. Core allows you to create your own content, import your own data and run your own reports with your own specified conditions. Core also allows you to export the report to an excel format so you can easily attach it to an email or share it with another team member.
In this example I will be creating a basic report which will give us a list of all of the Emergency Contacts, but keep in mind that you can add as many conditions to your queries as you like to filter down the data and get a more complex report. For example, you could track content that meets a specific status, is between a specific date range or a total over a certain price! I will go ahead and show you how to create this basic report in a few steps. It will take about 15 minutes to complete and will get quicker the more familiar you are with the system.
Step 1 – Creating a Content Query
Click on the Content Type Index option on the menu and then click on Content Queries in the index. Click on the plus button in the top right corner to create a new content query. From the create page you can give your query a name, you can select the content type you want to pull data from, and you can add a query type.
This is what the example query looks like:
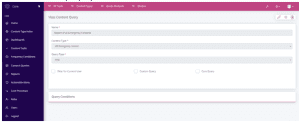
I have given it a name, I have selected the Emergency Contact content type and I have set the query type to “And” as it is a required field type, even though we won’t be using it in this example! Now you can hit save in the top right corner.
If you leave the content query like this, you will pull through all the data in the content type selected, but if you would like to filter the query down further you can click the “Add Item” when you are in edit to add some conditions. You can add as many conditions as you like! Here is an example of a condition using the fields in the Emergency Contacts content type.
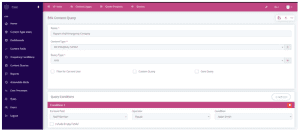
This example will pull through all the emergency contacts related to this one staff member. As stated above, for this example I am going to pull through all of the emergency contacts so I will not add any conditions.
Step 2 – Creating a Report
Now I have my content query I can go ahead and create a Report! If I head back over to the index and select Reports and click on the plus button in the top right corner, I can create a new report. Here you can give your Report a name, select a category, add a description, and select the content query you just made so it knows what data you want to see in the report! This is what mine looks like:
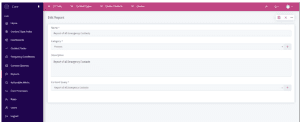
When you are ready you can hit save in the top right corner.
Now if you head back to the Report list view, you should see your new report!

To view the content you can click on “View”

and to export the content to excel you can click on “Run Now”

If you would like to see the video tutorial you can check it out here.
And if you would like to see our our documentation you can view it here: Core Documentation